Experiment one with the Open Press Project - Drypoint Etching
Getting the needle
It’s Arrived
At last, I can share the first experiments with my new Open Press Project postcard press, the bigger, 3D-printed sibling of the mini press that the team created in 2019 to give people the opportunity to create high-quality prints at home or in smaller studio spaces.
I missed out on the first launch, so you can imagine my excitement when I managed to grab an early-bird edition this time—complete with some handy extras!
This post marks the start of a series where I’ll share my experiments and results, diving into a variety of printmaking techniques with this fantastic tool. Here’s what’s on the agenda:
Drypoint etching
Blind embossing
Collograph
Lino printing (maybe even reduction if I’m feeling brave!)
For my first experiment, I decided to tackle drypoint etching—a technique I’ve been itching to try after seeing incredible results from fellow printmakers at the Art Academy. Since I’m an etching novice, I opted to start simple, using perspex sheets and a basic drypoint needle (if you’re new too, I highly recommend this tutorial by Handprinted to get started.)
Getting Started: Drypoint Etching
Rather than diving into every detail of the process, I’ll focus on the highlights of my first attempt—and the joy of making it a family affair. My daughter Charlotte was eager to join in; she’d been eyeing the press since it arrived and had already sketched out a design before I even unpacked it!
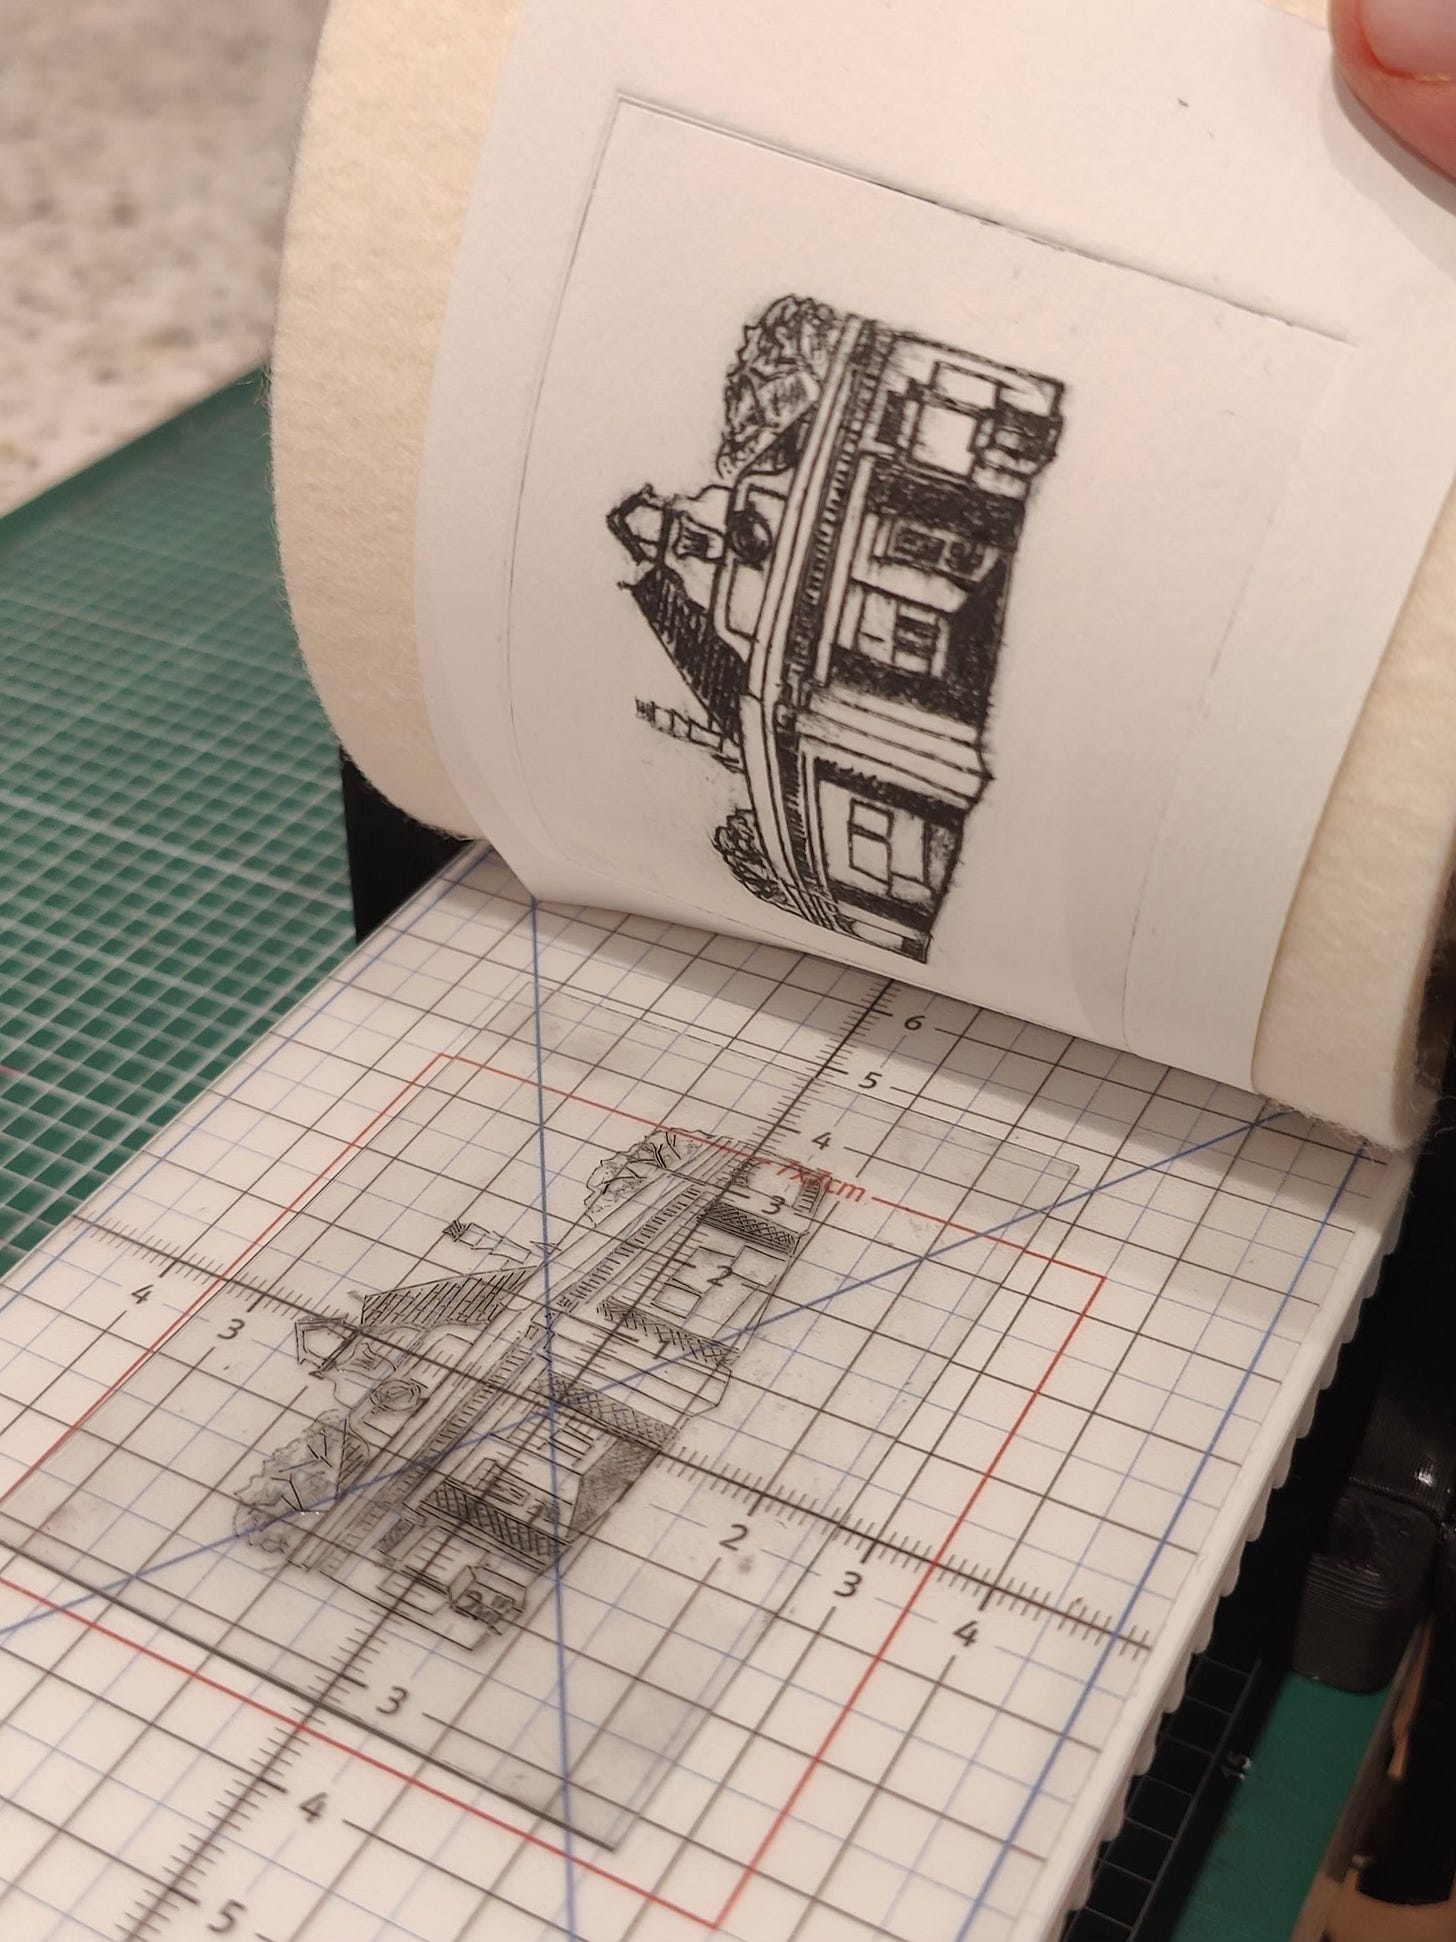
We started with a few initial sketches. Charlotte kept hers simple—a pair of mini pumpkins—while I ambitiously attempted an image of Southfields Tube station, a design I plan to experiment with further in future prints. We taped our sketches behind the perspex plates and scratched the designs into the surface using a drypoint needle.
The Fun (and Mess) of Inking and Printing
Once our designs were ready, the real fun began! Inking the plates turned out to be messier than expected—our fingers, hands, and even the table ended up covered in smudges. The goal was to leave just the right amount of ink in the grooves while carefully wiping away excess from the open areas to maintain shading.
The press itself came with a couple of thoughtful extras, like a perfectly sized squeegee and "print fingers" (essentially printmaking chopsticks). These were surprisingly handy when handling clean, pre-soaked paper without adding more mess to the mix. After a few attempts to get the pressure and inking just right, we finally saw the results of our first prints—and it was so rewarding!
Lessons Learned: First-Time Reflections
Here are a few takeaways from our initial experiment:
Too much detail can be tricky at this size. My Southfields Tube design had areas of fine cross-hatching that were difficult to translate at postcard scale.
Simplicity works wonders. Charlotte’s pumpkins stood out beautifully, and we’ve since experimented with adding subtle shading to enhance their texture.
Practice makes perfect. Adjusting the inking levels and handling the press takes time, but every attempt improves your results.
Bigger could be better. I’d love to scale up my Southfields sketch next time, giving the details more room to shine.
Looking Ahead
This is just the start of my journey with the Open Press Project postcard press. Next, I’m planning to explore blind embossing and see how this incredible tool handles texture and depth without ink.
Let me know if you have also started using this fab no-so-little press, I'd love to see what you have created.


Thanks Simon and artsy girl!,
Your lovely drypoints are a delightful anticipation to me ...
I have a Postcard Press in the way, so I'm really curious about the whole proccess and results,
Kind regards,
Vicky